Instructions:
Using 4 mm needles and double knit wool
Cast on 32 stitches in cheese colour.
Row 1: K10, P1, K10, P1, K10
Row 2: P10, K1, P10, K1, P10
Repeat these 2 rows 4 times
Cast off 10, P12, Cast off 10
Rejoin and Purl 1 row
Continue in SS, dec 1st at the start of every row until 1st remains,
B & T tightly
Cast on 5 st in mouse colour.
Row 1: (K1, inc) rpt to last st, K1 (7st)
Row 2: Purl
Row 3: (K1, inc) rpt to last st, K1 (10st)
Rows 4 & 5: SS
Rows 6 – 9: Cont in SS dec 1st beg & end of every row. (2st)
Pass one stitch over the other.
B & T tightly for nose, leaving a long end
Making Up:
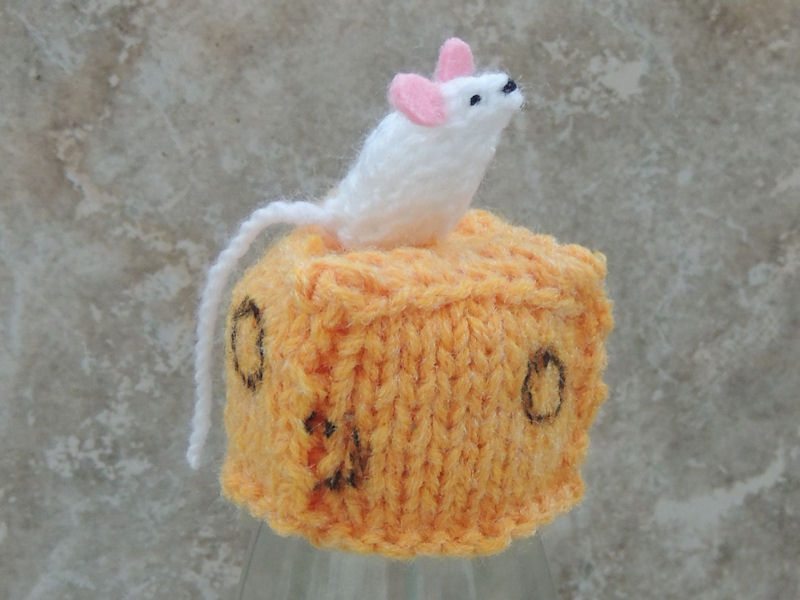
Use a permanent black marker pen to draw ‘holes’ all over the cheese as illustrated.
Construct the cheese wedge by oversewing all the seams on the outside – I also included oversewing the vertical lines created by the change in stitch. This allows the knitting to form a better overall shape.
Starting at the nose and with right side out, oversew the row ends of the mouse, leave a small gap at the tail end.
Insert a tiny bit of stuffing, then continue to oversew the seam.
Cut two small ears in pink felt and sew them in place with cotton.
Work a tiny nose and eyes with black cotton.
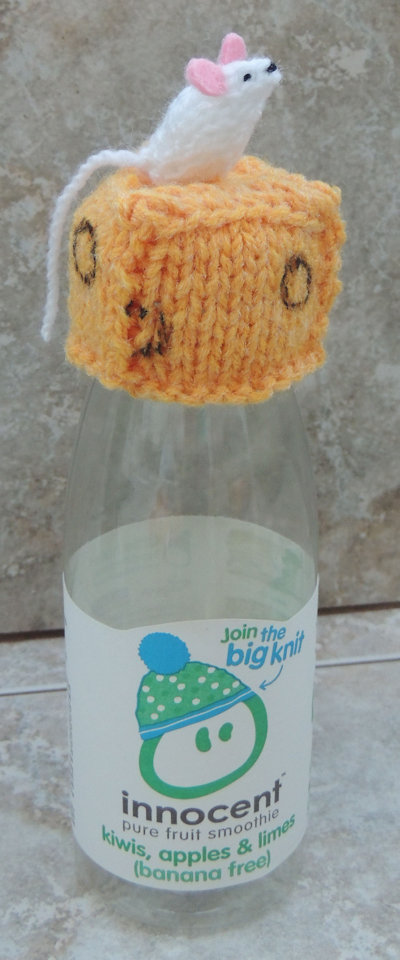
Use the long tail end to create a 3″ twisted cord for the tail, use the rest of this yarn to sew the mouse to the cheese wedge. I found it easier to place the cheese on the bottle before stitching the mouse on.
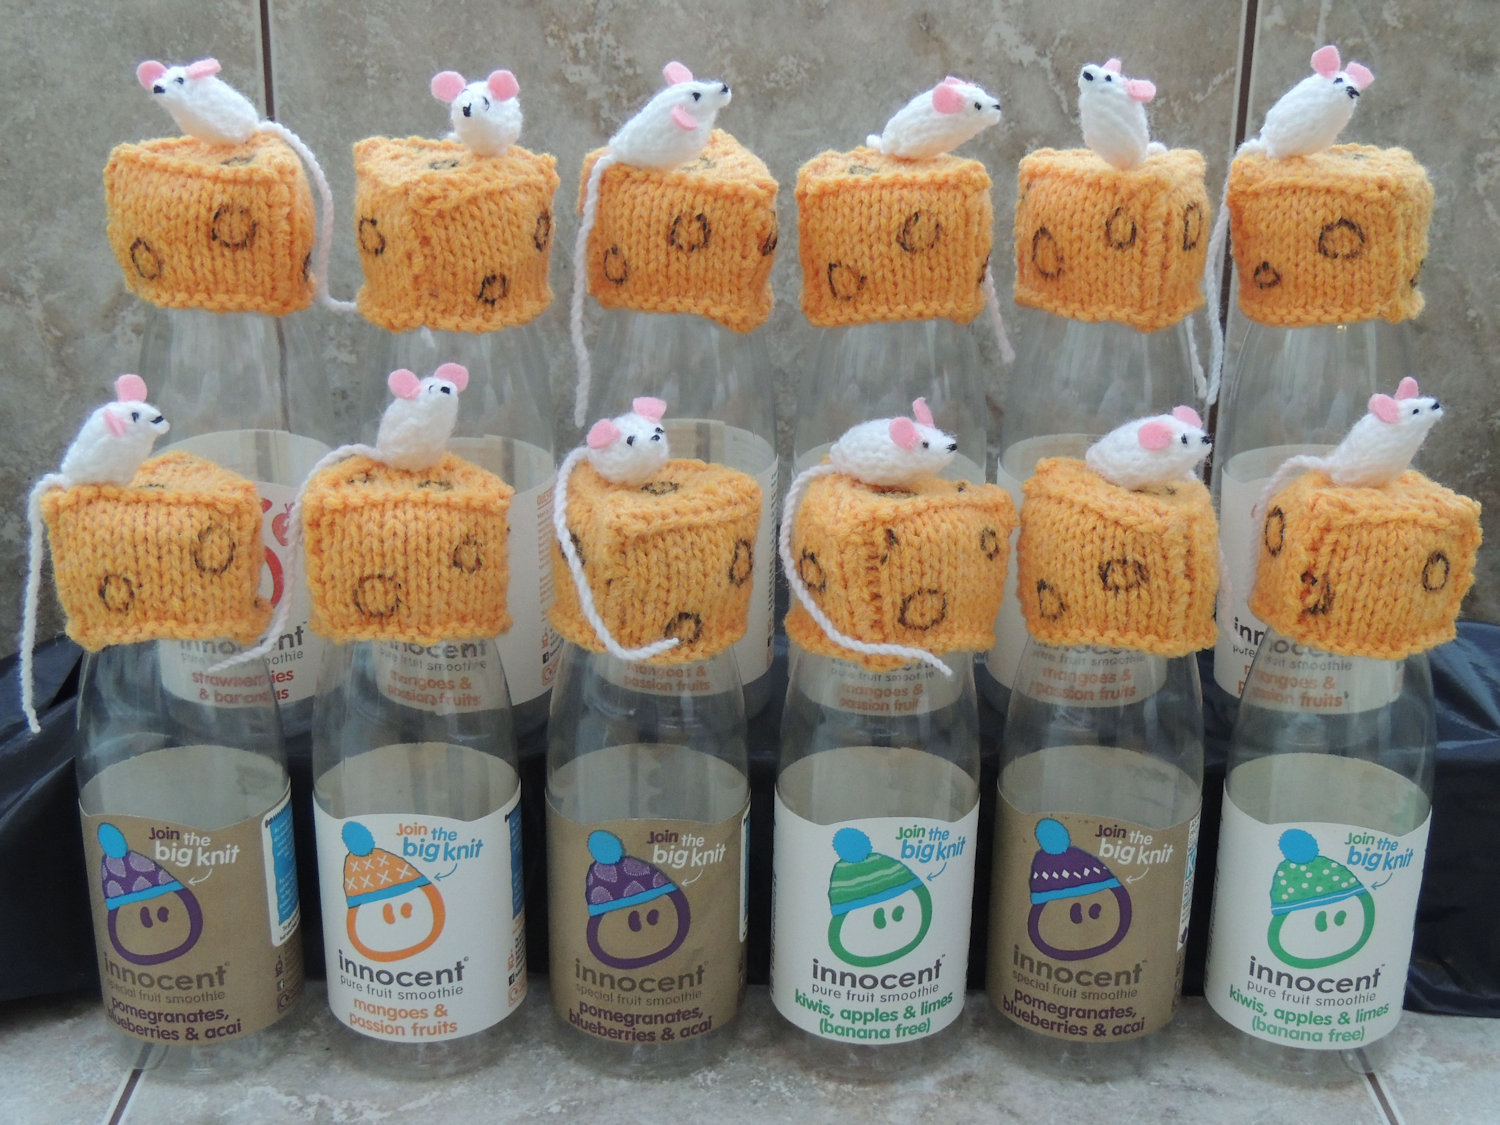
Allow a smile to creep across your face as you marvel at your creation!